
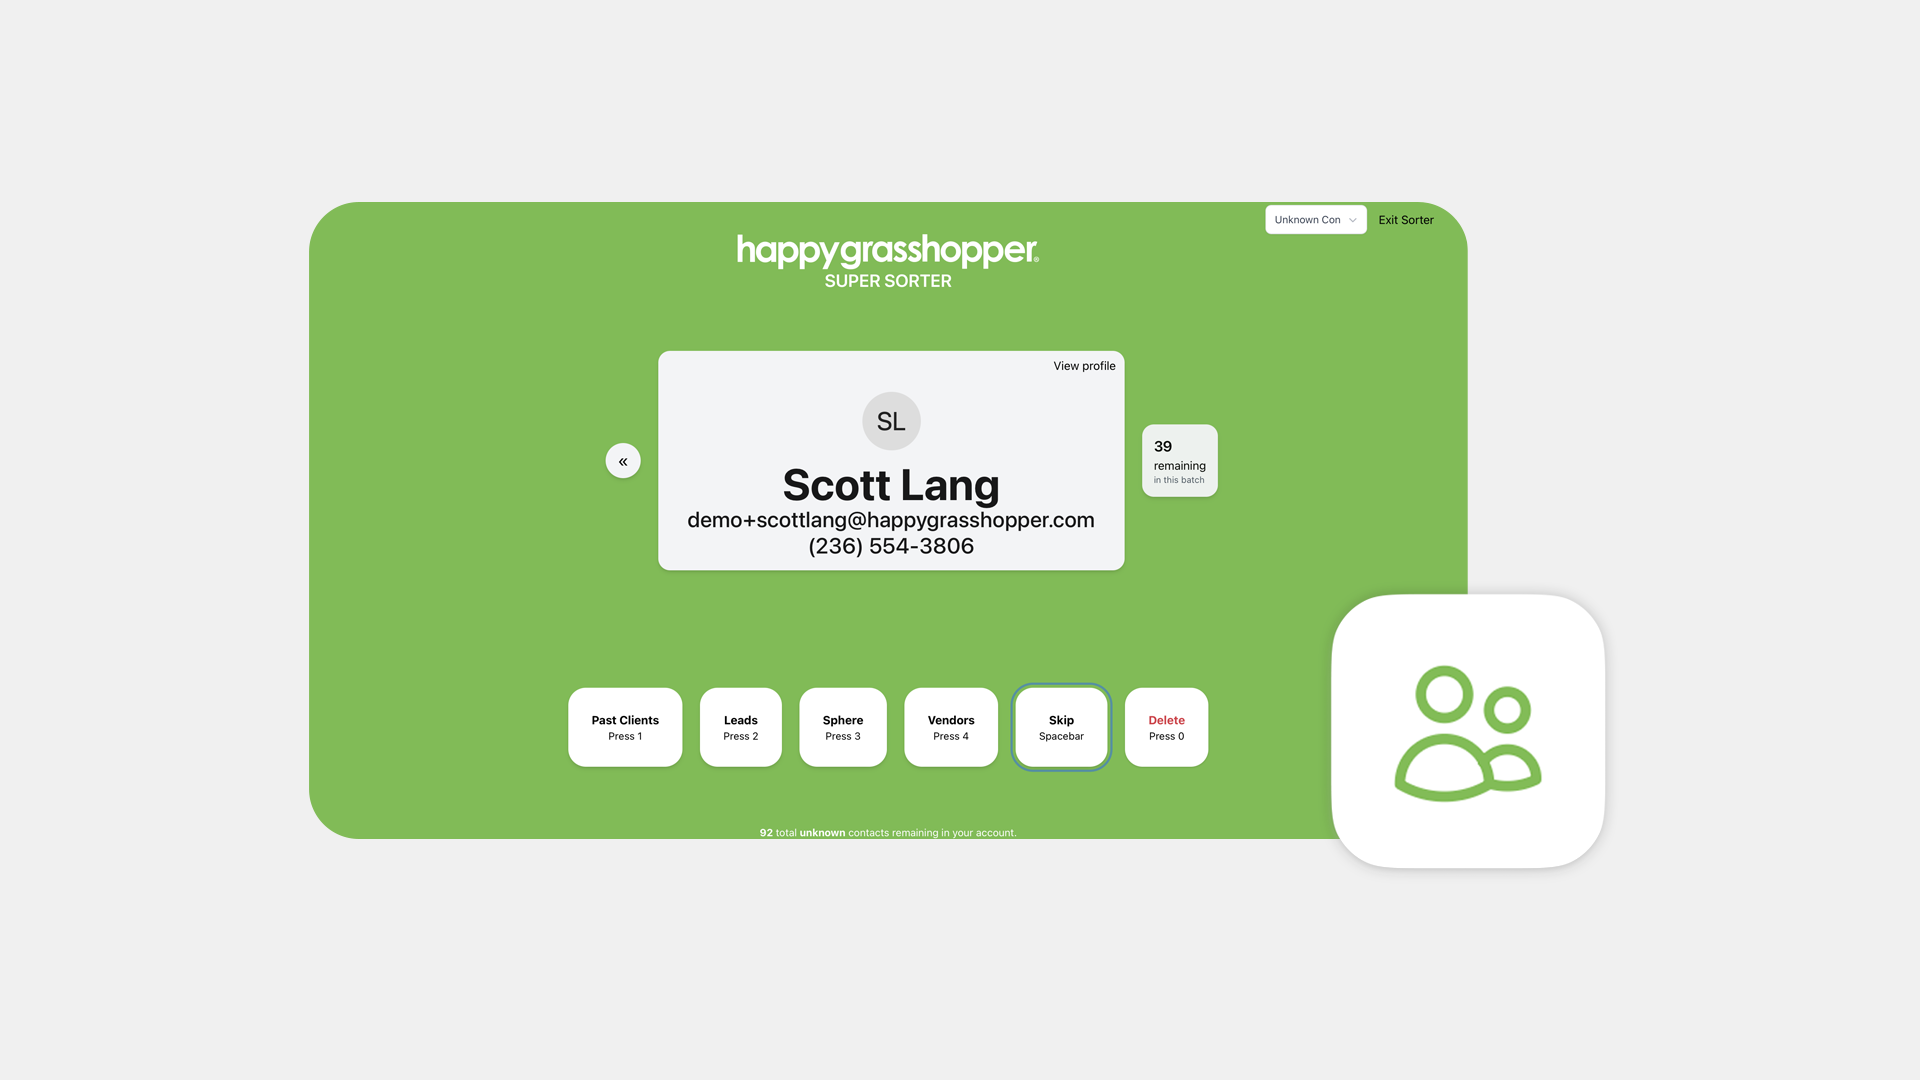
How to Sort Your Contacts to Happy Grasshopper
Contact SORTING Guide
Step 1: Go to the contact sorter
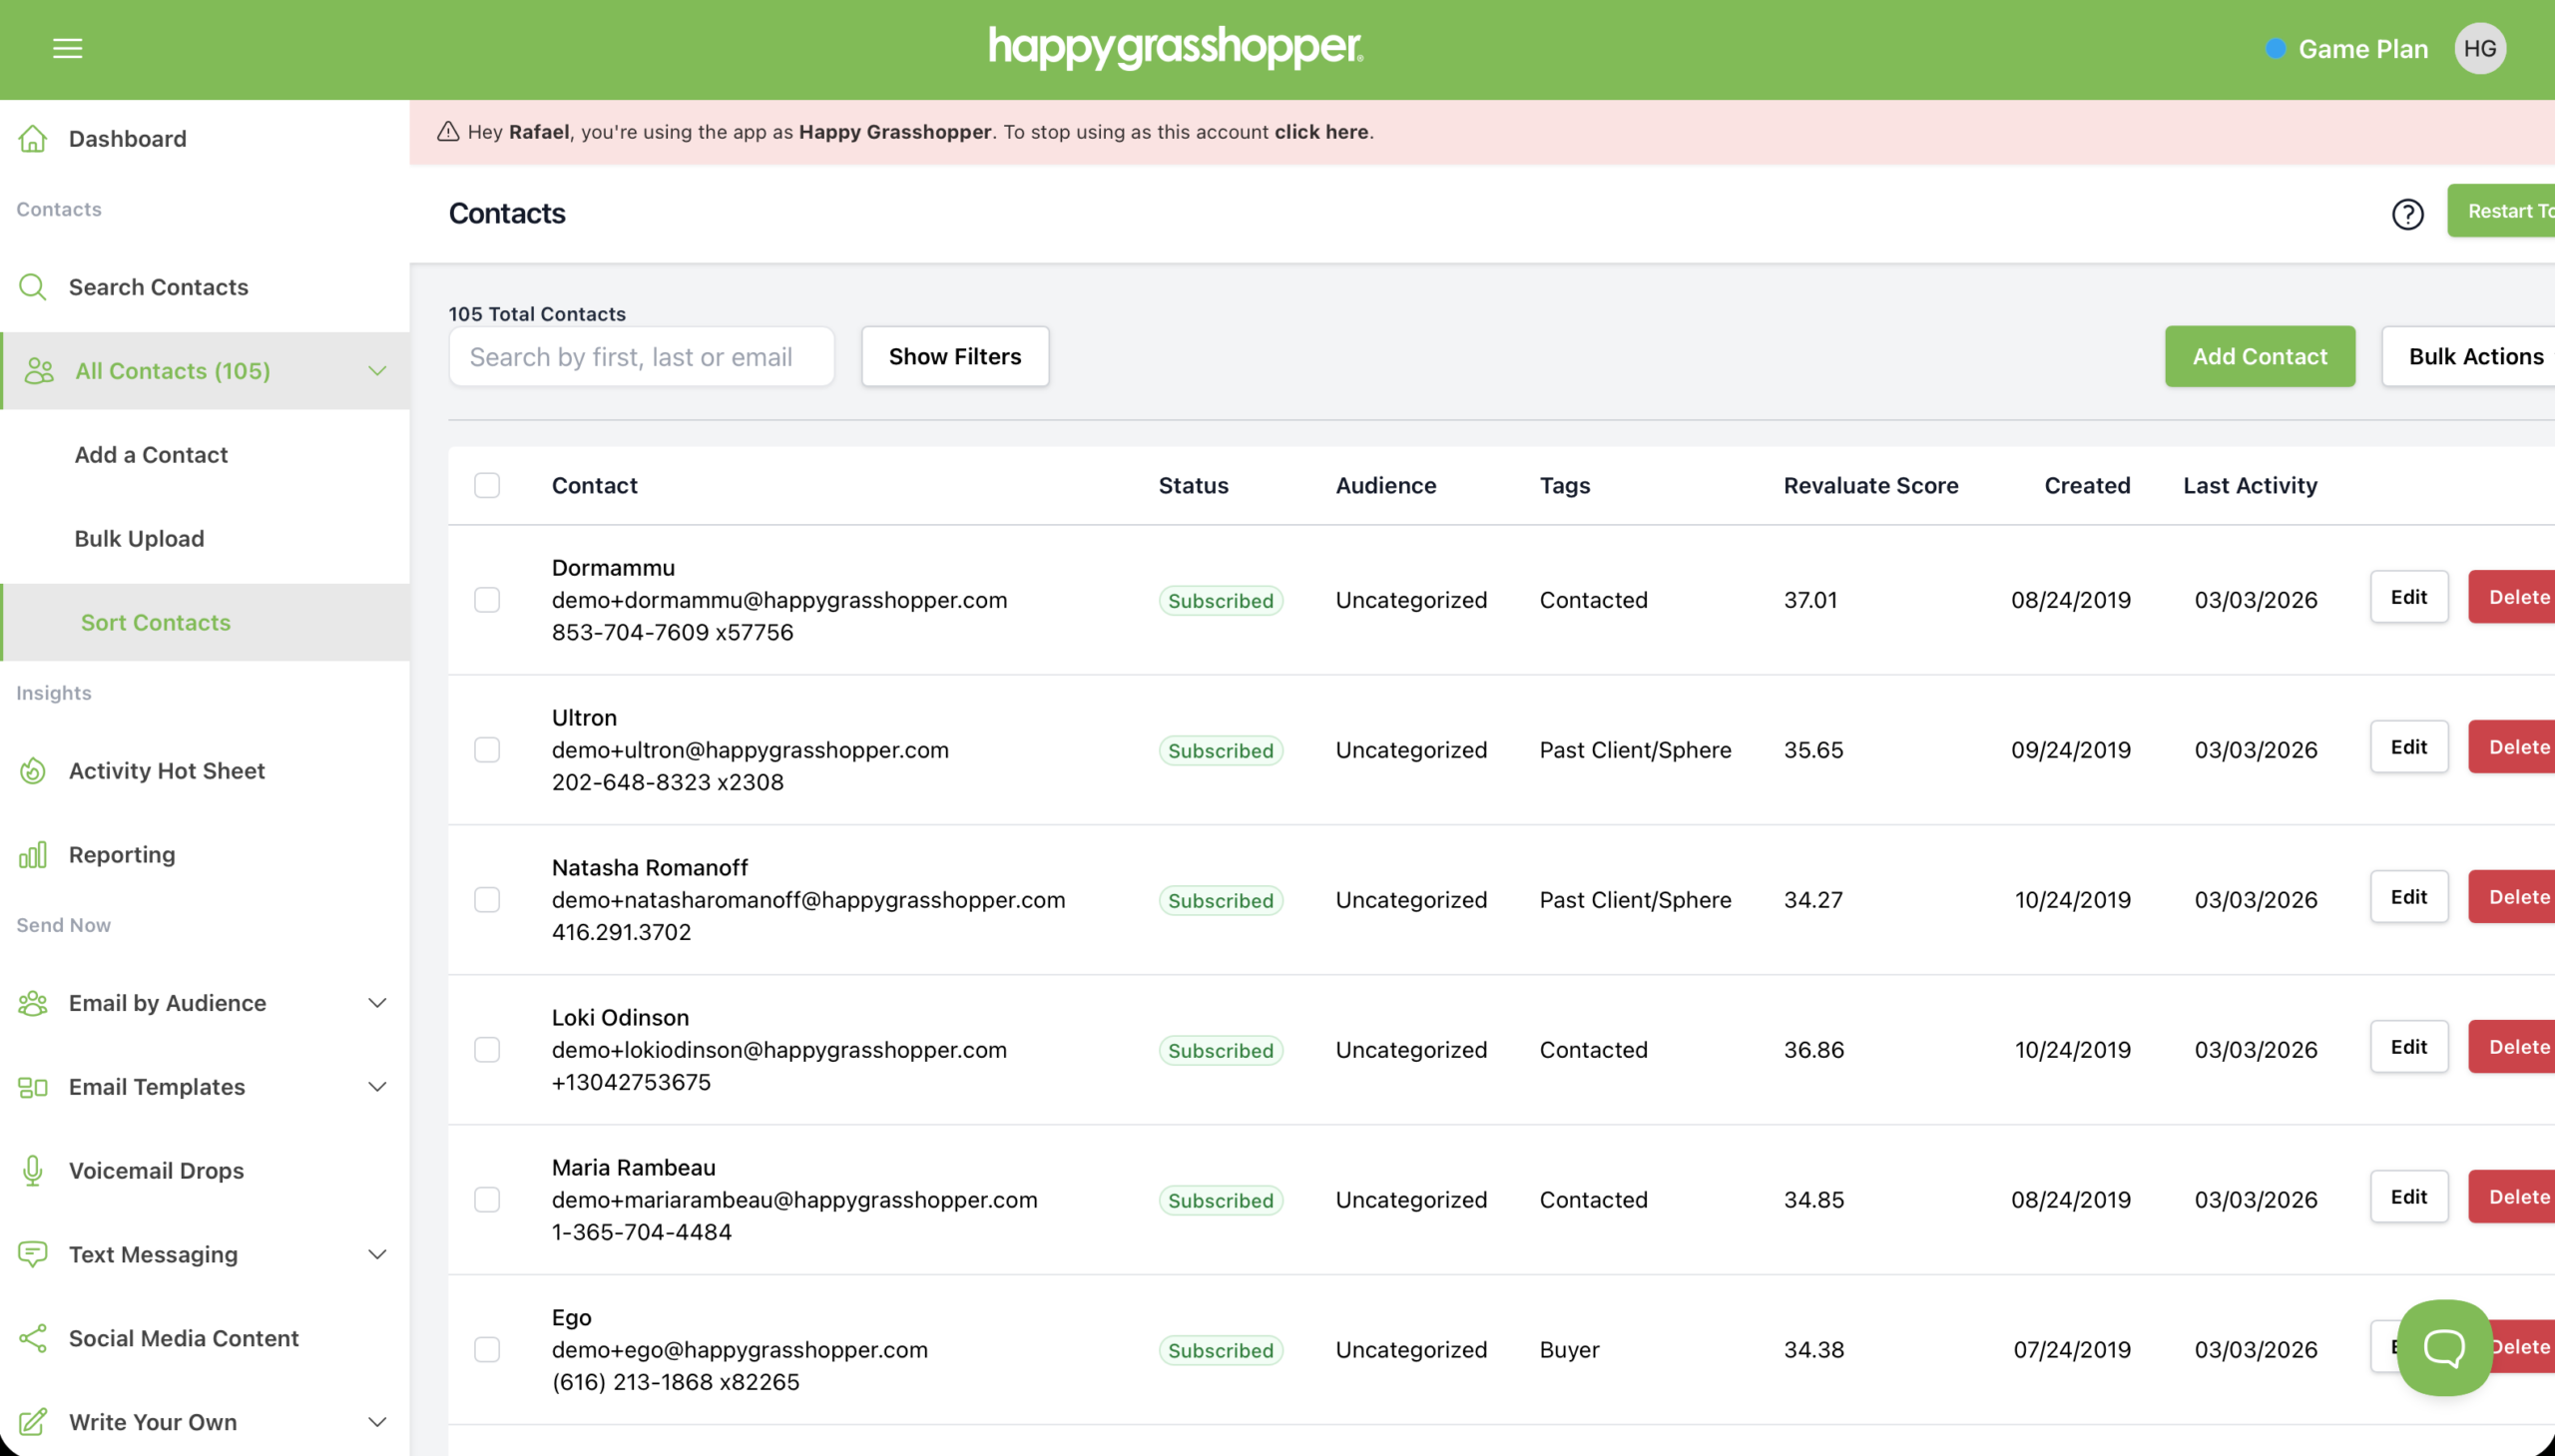
Log in to your Happy Grasshopper account. From the left-hand sidebar, click Contacts, then open the dropdown next to All Contacts and select Sort Contacts. This will launch the contact sorter, a tool designed to help you quickly organize contacts that haven’t yet been assigned to an audience.
Step 2: Choose Your View
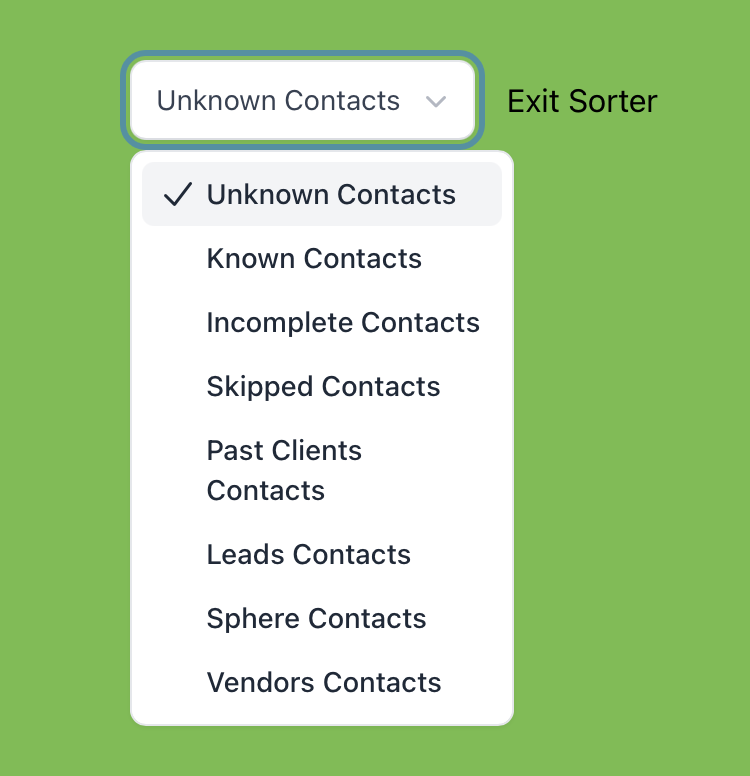
At the top of the screen, you can filter how contacts are displayed.
Step 3: Sort Your Contacts
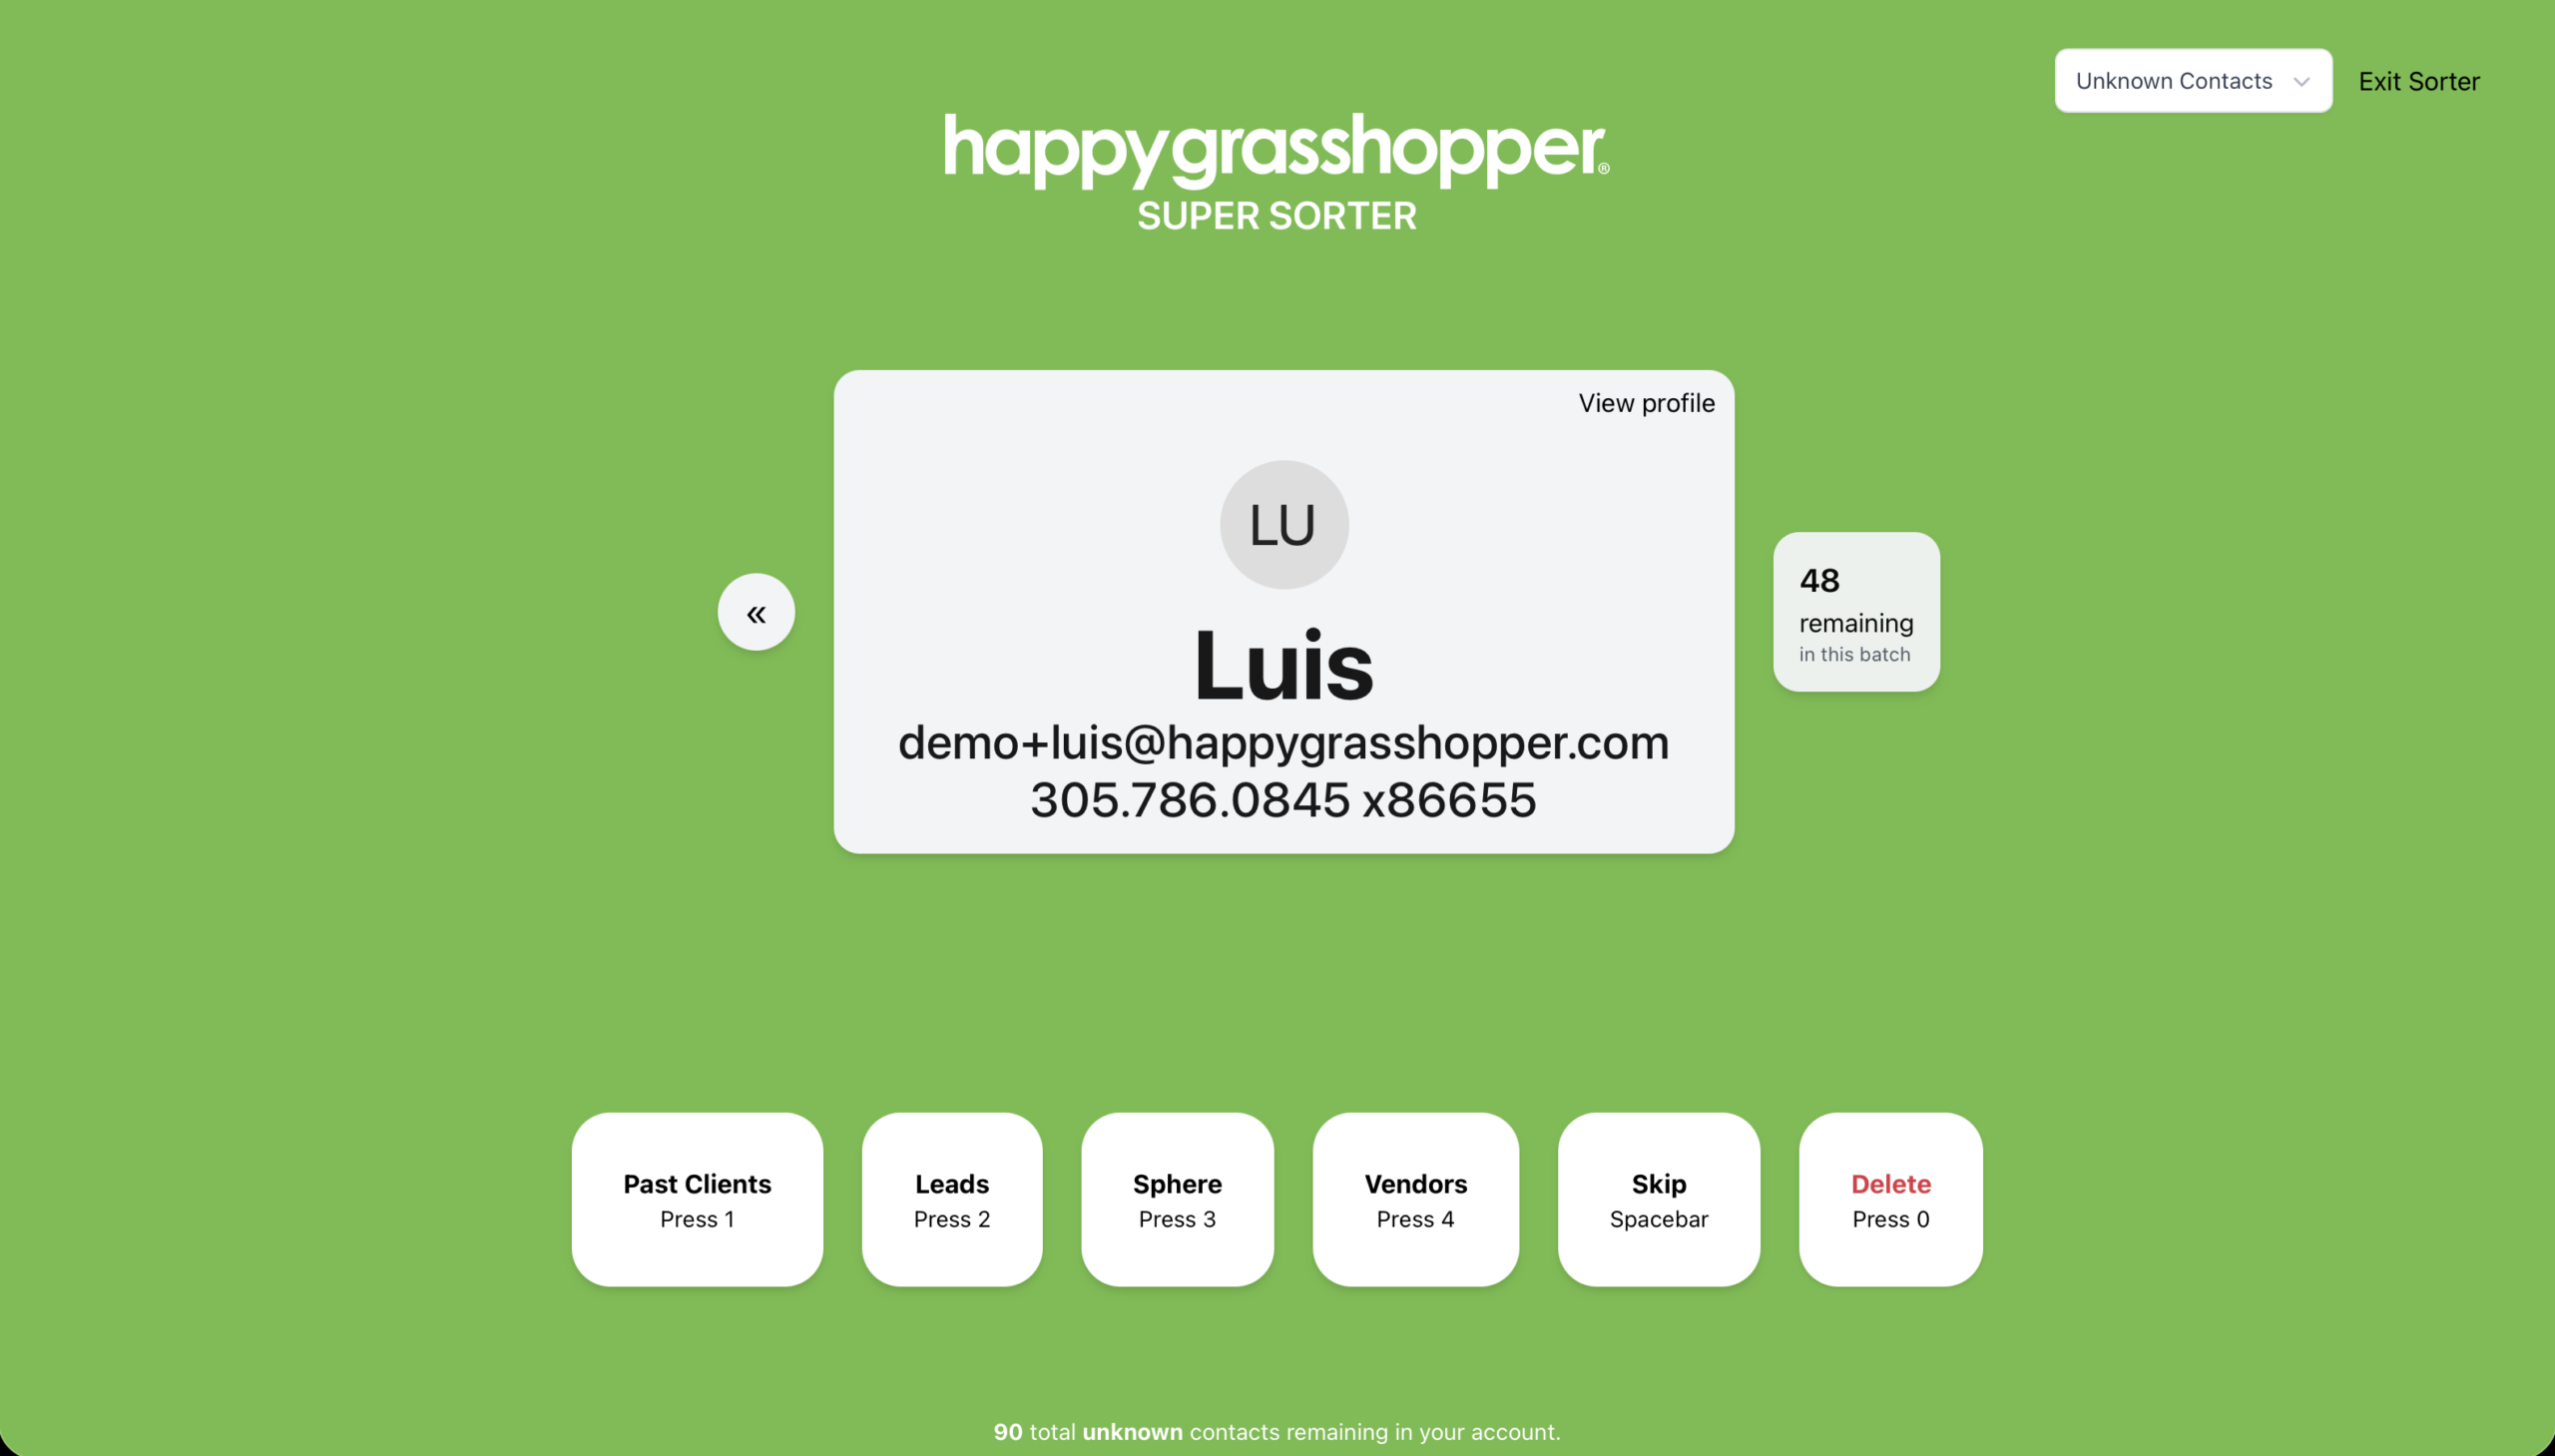
Each contact will appear with options that allow you to quickly assign them to the correct audience. You can either click the buttons on screen or use keyboard shortcuts to move faster.
Assign the contact to one of Happy Grasshopper’s main audiences:
If you’re unsure about a contact, you can skip them and return later. If a contact should not be in your database, you can also delete it directly from this screen. Keyboard shortcuts make sorting even faster:
Step 4: Work Through Contacts in Batches
Contacts appear in groups of 50 at a time to keep the process manageable. You can sort the entire batch in one sitting or work through them gradually.
Once you finish a batch, the next group will appear. If you leave and come back later, you can continue right where you left off.
All set!
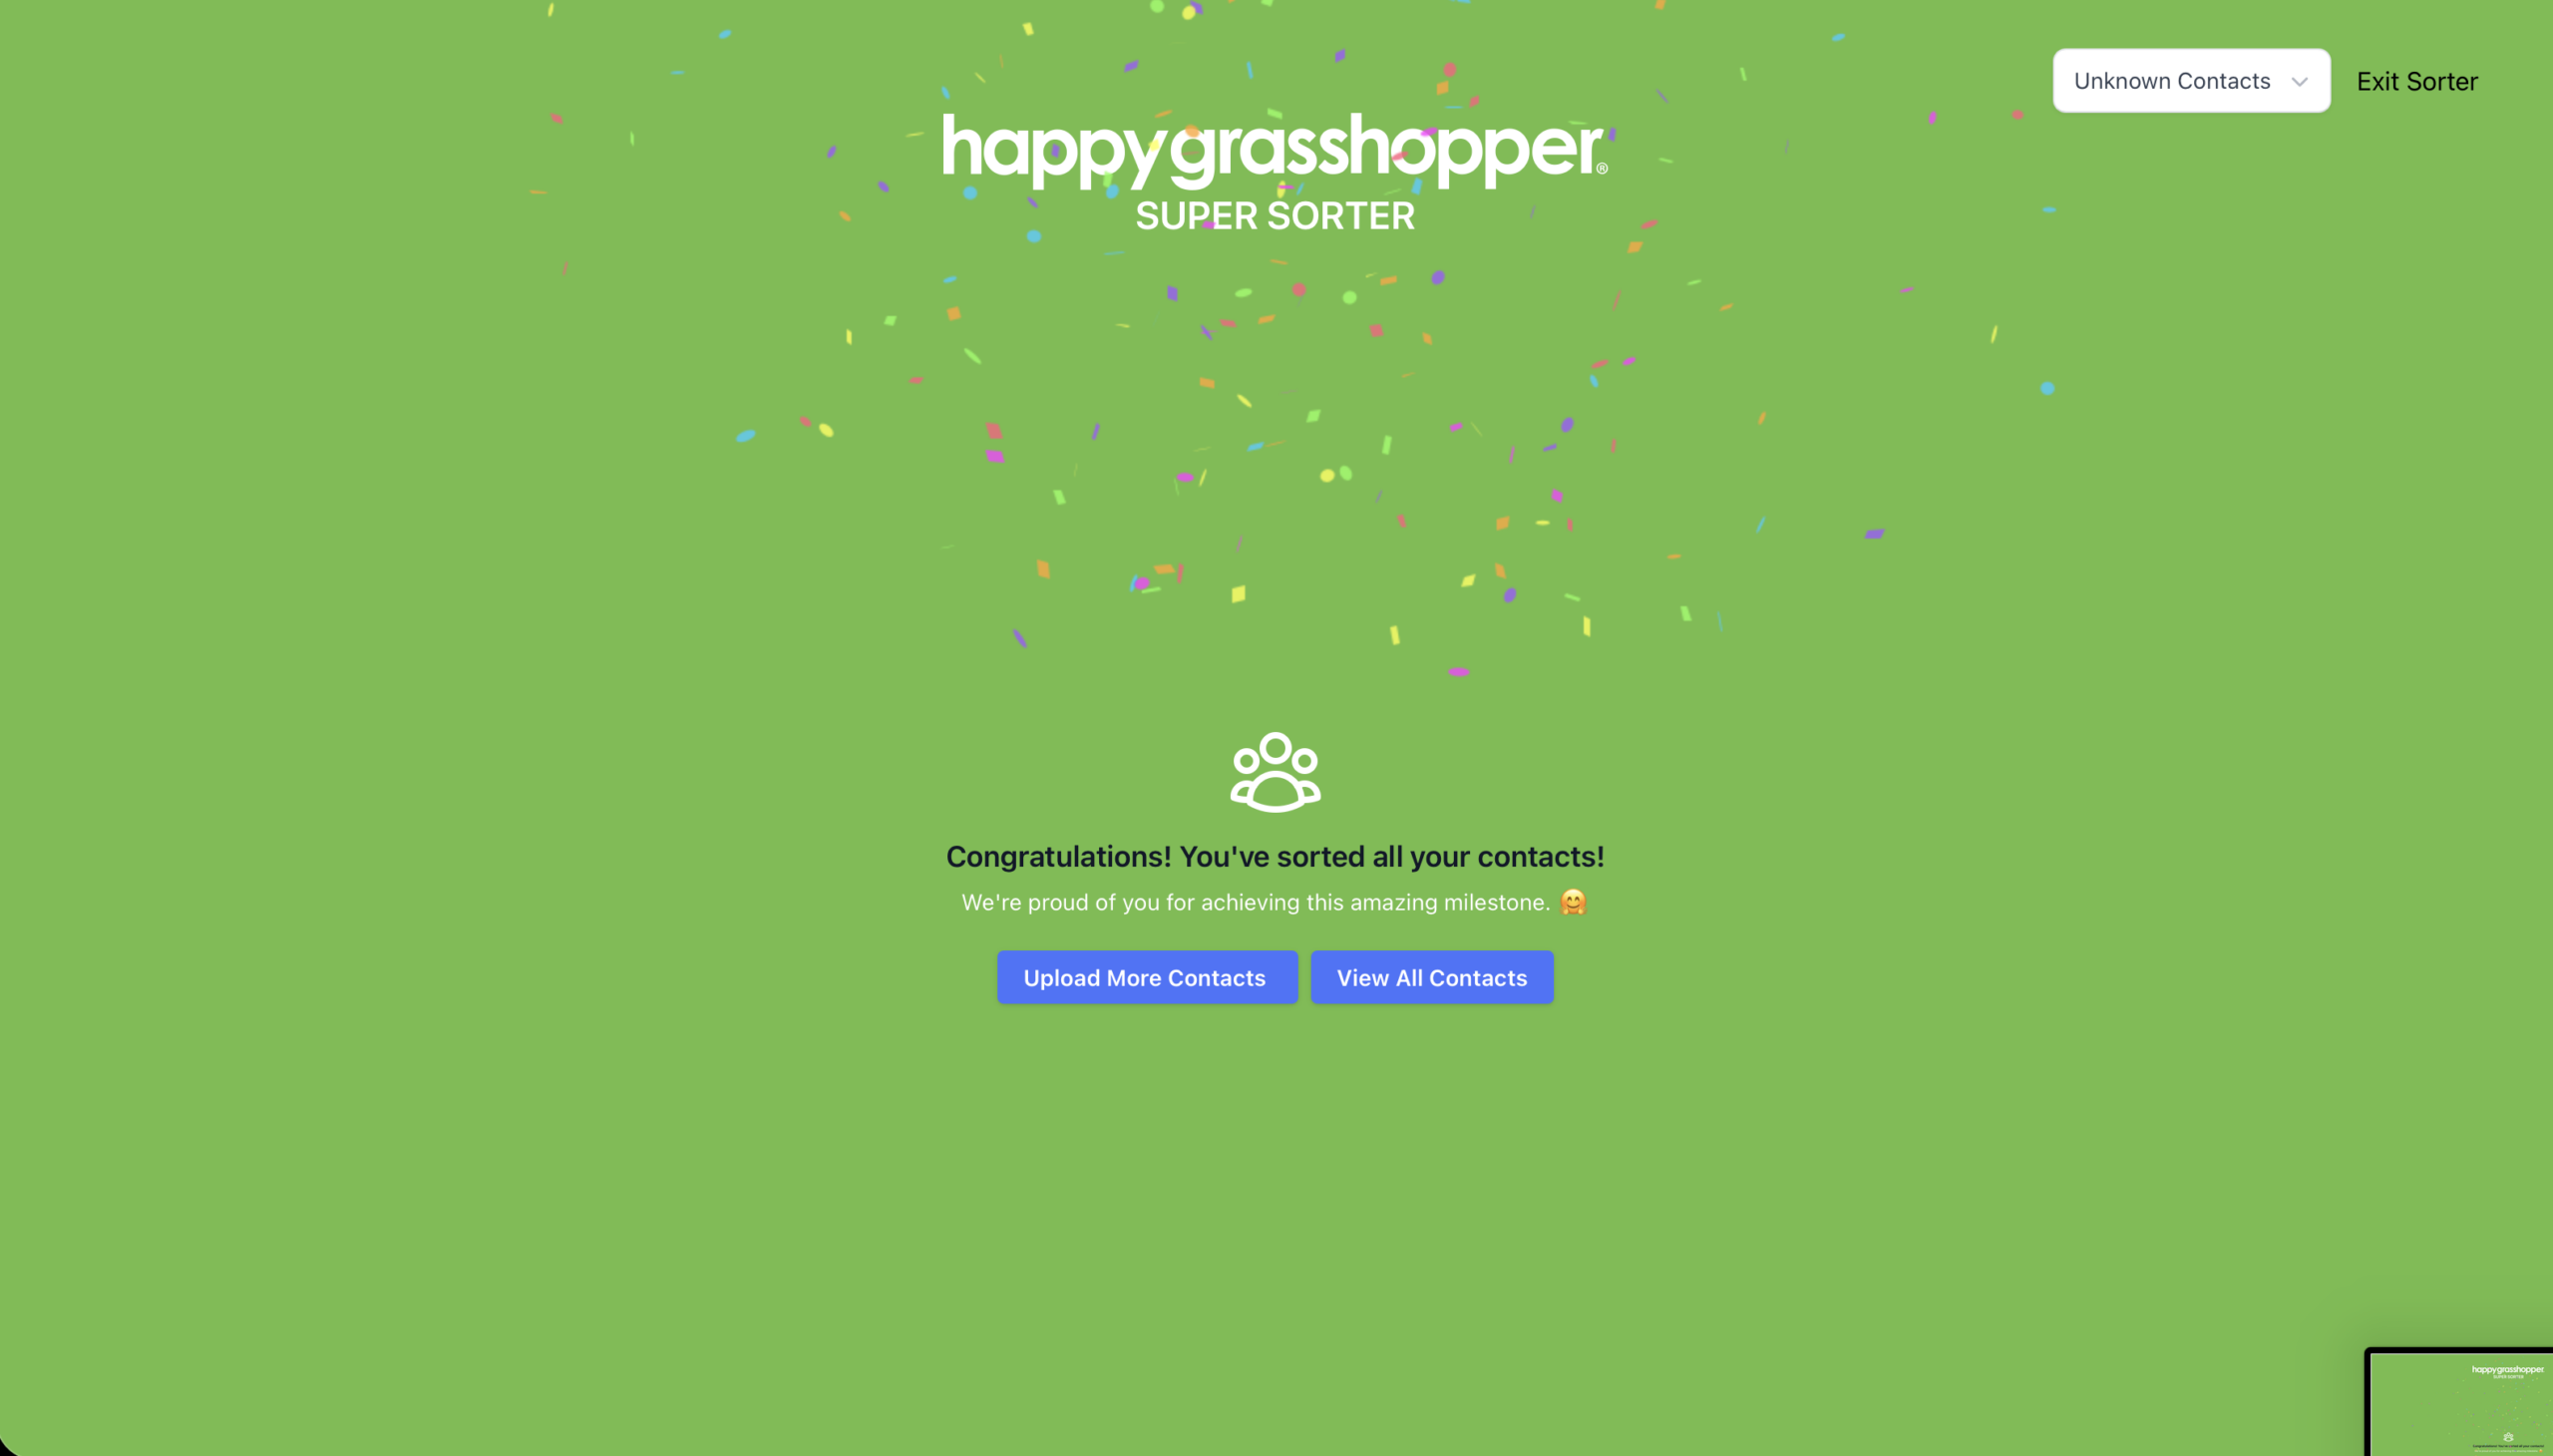
Sorting your contacts helps keep your database organized and ensures the right people receive the right messages. If your contact list includes people who haven’t been categorized yet, the Super Sorter is the fastest way to get everything structured and ready for communication.
Next
Use Tags and Audiences